5 Simple Tricks That Make Cheap Cuts of Meat Taste Expensive
Introduction: Why Cheap Cuts Deserve a Second Look
Last month I stood in front of the butcher case, watching a customer drop $34 on two ribeyes while I picked up a $7 chuck steak that looked like a geography project. The cashier actually said, “Good luck with that.” I get it — cheap cuts have a reputation for being tough, dry, and about as exciting as a boiled shoe. But I’ve spent the past year deliberately cooking the cheapest beef, pork, and lamb I can find, and I’m going to tell you something I wish I’d known sooner: the gap between a $7 cut and a $30 one is mostly technique, not magic. There are five specific things I do now that make a chuck steak eat like something you’d get at a white-tablecloth restaurant, and none of them require a sous vide wand or culinary school. If you’ve ever chewed a flank steak until your jaw ached or served dry pork shoulder to dinner guests, this is the article that fixes it.
These aren’t random internet hacks. I’ve cooked the same cuts side by side — one with the trick, one without — and tasted the difference. Below I’ll walk through each method with exact times, temperatures, and the one mistake I see home cooks make every single time. The five tricks are: salt-brining, low-and-slow cooking, acidic marinades, reverse searing, and slicing against the grain. Used together or even just two at a time, they turn the cheapest meat in the case into something people ask for seconds of.
Trick #1: The Salt-Brine Method – Your Secret Weapon for Moisture
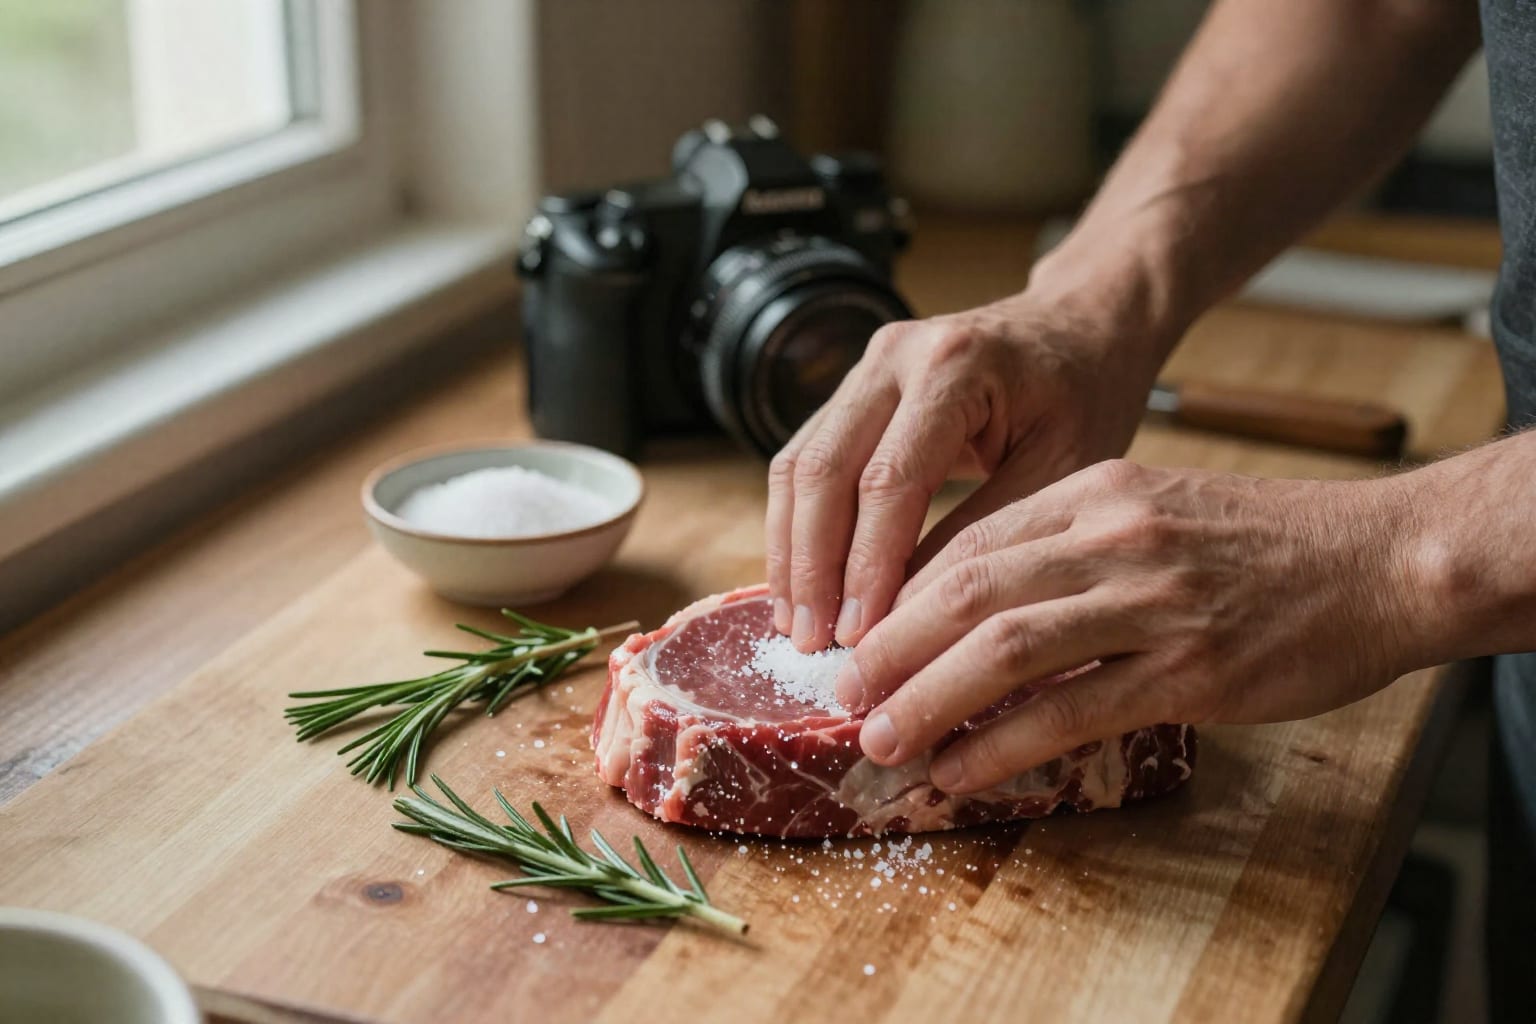
The single biggest breakthrough for my cheap-cut cooking happened on a Tuesday night with a 1.5-inch-thick chuck eye steak that cost $4.80. I salted it on both sides, left it uncovered in the fridge for six hours, then cooked it in a hot cast-iron pan. The same cut, cooked the same way but without the salt rest, was noticeably drier and had a tighter, more rubbery chew. The difference was so stark I started brining everything — pork shoulder, skirt steak, even lamb leg steaks. A salt brine — whether dry or wet — doesn’t just season the surface; it alters the muscle proteins so they hold onto more moisture during cooking. For cuts that start out lean and fibrous, that’s the difference between something that tastes like pot roast sadness and something juicy enough to serve medium-rare.
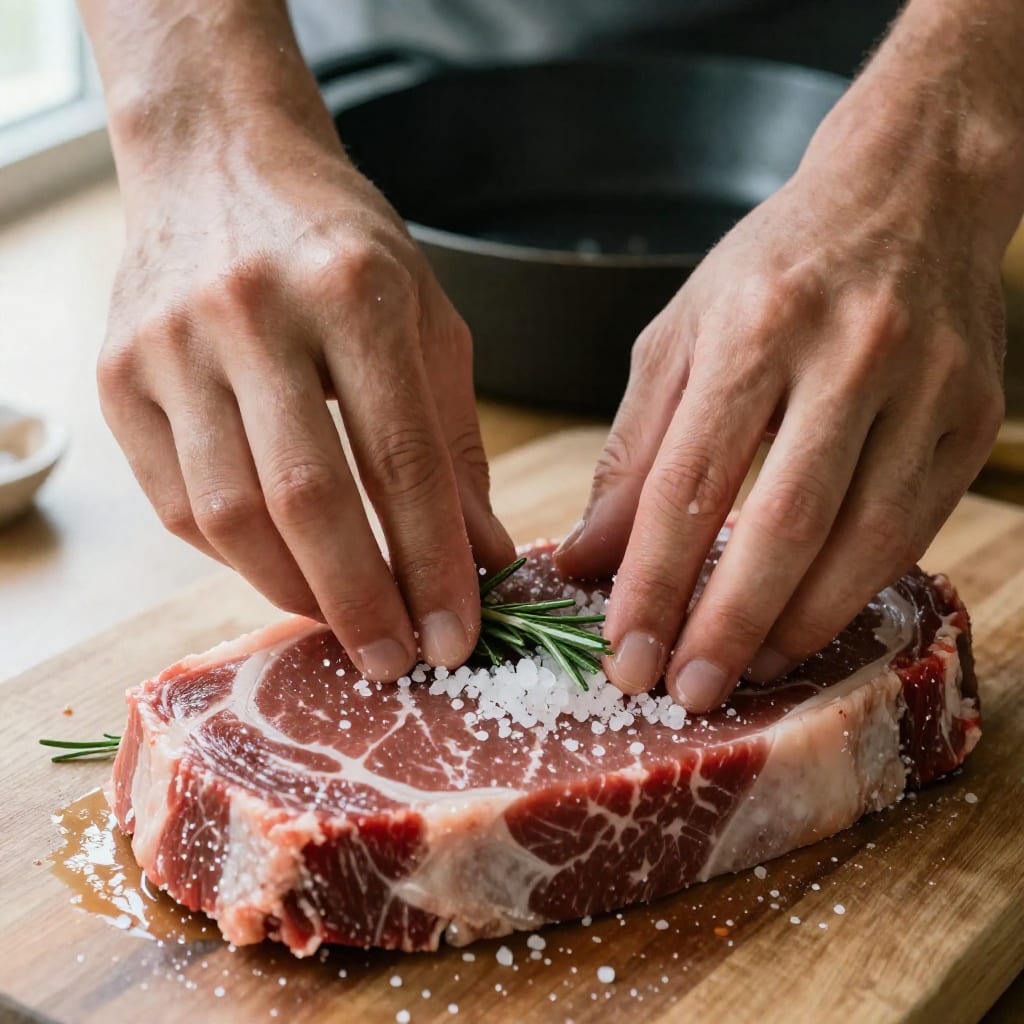
Here’s the practical version: for a dry brine, use about 1 teaspoon of kosher salt per pound of meat, rub it all over, and let it sit uncovered on a wire rack in the fridge. For a wet brine, dissolve 1/4 cup of kosher salt in 4 cups of cold water (that’s a roughly 5% solution), submerge the meat, and refrigerate. Both work, but I prefer dry brining because it doesn’t waterlog the meat and it dries out the surface slightly, which helps you get a better sear later.
How to Dry-Brine vs. Wet-Brine
Dry-brining is my default for beef and lamb. Sprinkle salt evenly — don’t just dump it in a pile — and forget about it for at least 4 hours and up to 24. The salt draws out some moisture initially, then that moisture dissolves the salt and gets reabsorbed, carrying seasoning deep into the meat. Wet-brining works better for pork and poultry, especially when I want the meat to pick up additional flavors from aromatics like bay leaves, peppercorns, or smashed garlic in the brine liquid. The trade-off: wet-brined meat can get a little spongy if you leave it too long, and it doesn’t sear quite as well because the surface stays damp. For a 3-pound pork shoulder I’ll wet-brine for 6 to 8 hours; for a 1-pound flank steak I’ll dry-brine overnight.
Why Brining Works on Collagen-Rich Cuts
I need to be precise here because I see this overstated constantly. Salt does improve moisture retention and seasoning, and it can slightly relax muscle fibers, but it doesn’t single-handedly melt all the collagen into gelatin. That job belongs to heat and time (see Trick #2). What salt does is prevent the muscle fibers from squeezing out as much liquid as they cook, so the meat stays juicier. In collagen-heavy cuts like brisket, short ribs, or chuck roast, brining gives you a head start — the meat tastes well-seasoned and holds its moisture better during the long cook. The real texture transformation still happens in the oven or smoker. Think of brining as setting the stage, not the whole show.
In Andy Cooks’ video on making cheap meat taste expensive, he demonstrates a dry-brine on a thick-cut beef steak and then cooks it simply, and you can see how the salt pull moisture to the surface before it reabsorbs — a useful visual if you’ve never tried the method yourself.
Trick #2: Low-and-Slow Cooking – Turn Collagen Into Gelatin
If brining is the opening act, low-and-slow cooking is the headliner for tough cuts. I learned this the expensive way when I tried to cook a 4-pound chuck roast at 350°F for two hours, convinced I could speed things up. What came out of the oven was a gray, dry brick that even my dog side-eyed. Collagen — the connective tissue that makes cheap cuts tough — starts breaking down into gelatin around 160°F internal temperature, but it needs time. Rush it with high heat and you force the moisture out before the collagen has a chance to melt. Cook it at 200–225°F for several hours, and that same tough chuck roast becomes spoon-tender.
I now cook all my collagen-heavy cuts — beef chuck, pork shoulder, lamb shanks, short ribs — in a 225°F oven or smoker until they hit about 200°F internal. That’s the point where the collagen has fully converted and the meat pulls apart with a fork. The exact time varies wildly by size and shape: a 3-pound boneless chuck roast takes me roughly 4 to 5 hours, while a bone-in pork shoulder can go 8. Don’t marry the clock; use a probe thermometer and trust the feel. When the probe slides in like it’s going through warm butter, you’re done.
The Ideal Temperature Window (200–225°F)
I stick to 200–225°F because it’s low enough to give collagen plenty of time to convert without drying out the meat. Above 250°F, the muscle fibers contract too fast and squeeze out moisture before the connective tissue has a chance to melt. Some recipes call for 275°F or even 300°F, and they can work if you’re in a hurry, but I find the margin for error shrinks — 15 minutes too long and you’ve got dry meat. At 225°F, I can leave a pork shoulder in for an extra hour without ruining it, and that forgiveness matters on a busy weekend when I’m not staring at the thermometer.
Braising vs. Smoking vs. Sous Vide
I’ve tried all three, and they each earn their place. Braising — cooking the meat partially submerged in liquid in a covered pot — is my go-to for beef chuck and short ribs. The steam and liquid keep the surface from drying out, and the braising liquid becomes a sauce. Smoking adds a bark and deep flavor that’s hard to beat for pork shoulder or brisket, but it requires more attention to maintain temperature. Sous vide shocked me the first time I used it on a flank steak: 131°F for 6 hours, then a quick sear, and it was as tender as a strip steak. The downside is that sous vide doesn’t give you the same roasted flavor, so I always finish with a hard sear in a cast-iron pan. My ranking: braise for chuck and short ribs, smoke for pork shoulder, sous vide for leaner tough cuts like flank or round.
Steel Pan Guy’s video on making cheap steak taste expensive walks through a simple low-temperature oven roast followed by a pan sear, and watching how the steak looks before and after the slow cook really underscores how much tenderness you gain from the low heat alone.
Trick #3: Acidic Marinades – Tenderize Without a Mallet
I used to think marinades were magic potions that turned any cut into butter. Then I left a skirt steak in a lemon-heavy marinade for eight hours and cooked it into something that had the texture of a wet paper towel. Here’s what I now believe — and this goes against a lot of the conventional wisdom you’ll find online: acidic marinades are overrated for real tenderizing, and for most cuts I cook, they’re not worth the effort beyond adding surface flavor. Acid does denature proteins, but it mostly affects the outermost millimeter or two. You’re not breaking down deep collagen with citrus juice; you’re just softening the surface, which can be nice for thin cuts like skirt or flank steak but does almost nothing for a thick chuck roast.
That said, when I want a bright, tangy flavor on a quick-cooking cut, I’ll use an acidic marinade deliberately. My go-to for beef is a mix of balsamic vinegar, olive oil, smashed garlic, and black pepper — 30 minutes at room temperature, no more. For pork loin or chops, I use fresh lime juice and orange juice with a little cumin. For lamb leg steaks, plain yogurt with grated garlic and mint is unbeatable: the lactic acid is gentler than vinegar, and the yogurt clings to the meat and helps it char beautifully on the grill.
Best Acids for Different Cuts
Here’s what I’ve settled on after a lot of trial and error:
- Beef (skirt, flank, flat iron): Balsamic or red wine vinegar. Bold enough to stand up to the meat’s flavor, and 30–60 minutes is plenty.
- Pork (loin, chops, tenderloin): Citrus — lime, lemon, orange, or a mix. Pork loves sweetness, so I often add a spoonful of honey. 20–40 minutes max.
- Lamb (leg steaks, shoulder chops): Plain yogurt or buttermilk. The thicker consistency coats the meat and gives you a great crust. 1–4 hours works, but I prefer 2.
The 30-Minute Rule (Don’t Over-Marinate)
For any marinade that contains a strong acid — vinegar, citrus juice, wine — I set a timer for 30 minutes and don’t walk away. Thin cuts like skirt steak can handle up to an hour, but beyond that the surface starts to break down and turn mushy. If I want longer flavor penetration without the texture damage, I’ll switch to an oil-and-herb paste or a dry rub after the initial acid bath. One reliable sequence: 30 minutes in a vinegar-based marinade, pat dry, then coat with olive oil, chopped rosemary, and black pepper before it hits the heat. The oil seals the surface and the herbs don’t turn bitter from prolonged acid contact.
Trick #4: Reverse Searing – The Steakhouse Finish at Home
Reverse searing flipped my steak game upside down. The traditional method — sear first, then finish in the oven — works fine for thick ribeyes, but cheap thin cuts like flank or skirt steak overcook in the time it takes to get a decent crust. Reverse searing does the opposite: you bring the meat up to temperature slowly in a low oven or smoker, then sear it at blistering heat for just a minute per side. The result is a steak with an even pink center from edge to edge and a dark, crackling crust that tastes like a steakhouse’s $45 special.
I tested this side by side with two identical 1-inch-thick flank steaks, each weighing about 1.2 pounds. The first I seared in a hot pan for 3 minutes per side and then finished in a 400°F oven for 4 minutes. It came out with a thick gray band around a small pink center and a decent crust. The second went into a 225°F oven until it hit 115°F internal — about 25 minutes — then into a smoking-hot cast-iron skillet with a tablespoon of avocado oil for 90 seconds per side. The gray band was practically nonexistent, the center was a uniform medium-rare, and the crust was darker and more flavorful. Same cut, same pan, entirely different eating experience.
Why Reverse Searing Works Better for Thin Cuts
Thin cuts like flank, skirt, and flat iron have very little margin for error. In a traditional sear-first method, the outside is cooking fast while the inside is still cold, so by the time the center hits medium-rare, the outer third is already well-done. Reverse searing eliminates that problem by gently warming the entire steak first. When it hits the hot pan, the surface gets the Maillard reaction almost instantly, and the inside has already done most of its cooking. For steaks under an inch thick, this is the only method I use now.
Temperature Targets for Perfect Doneness
I pull the steak from the oven or smoker 10–15°F below my target final temperature, because the searing step adds a burst of heat and carryover cooking will push it higher while it rests. My targets:
- Rare: Pull at 110°F, final 120°F
- Medium-rare: Pull at 115°F, final 130°F
- Medium: Pull at 125°F, final 140°F
After searing, rest the steak for at least 5 minutes. I rest mine on a wire rack over a plate so the bottom doesn’t steam and soften the crust. The difference in juice retention between a 2-minute rest and a 7-minute rest is night and day.
Trick #5: Slicing Against the Grain – Unlock Tenderness Instantly
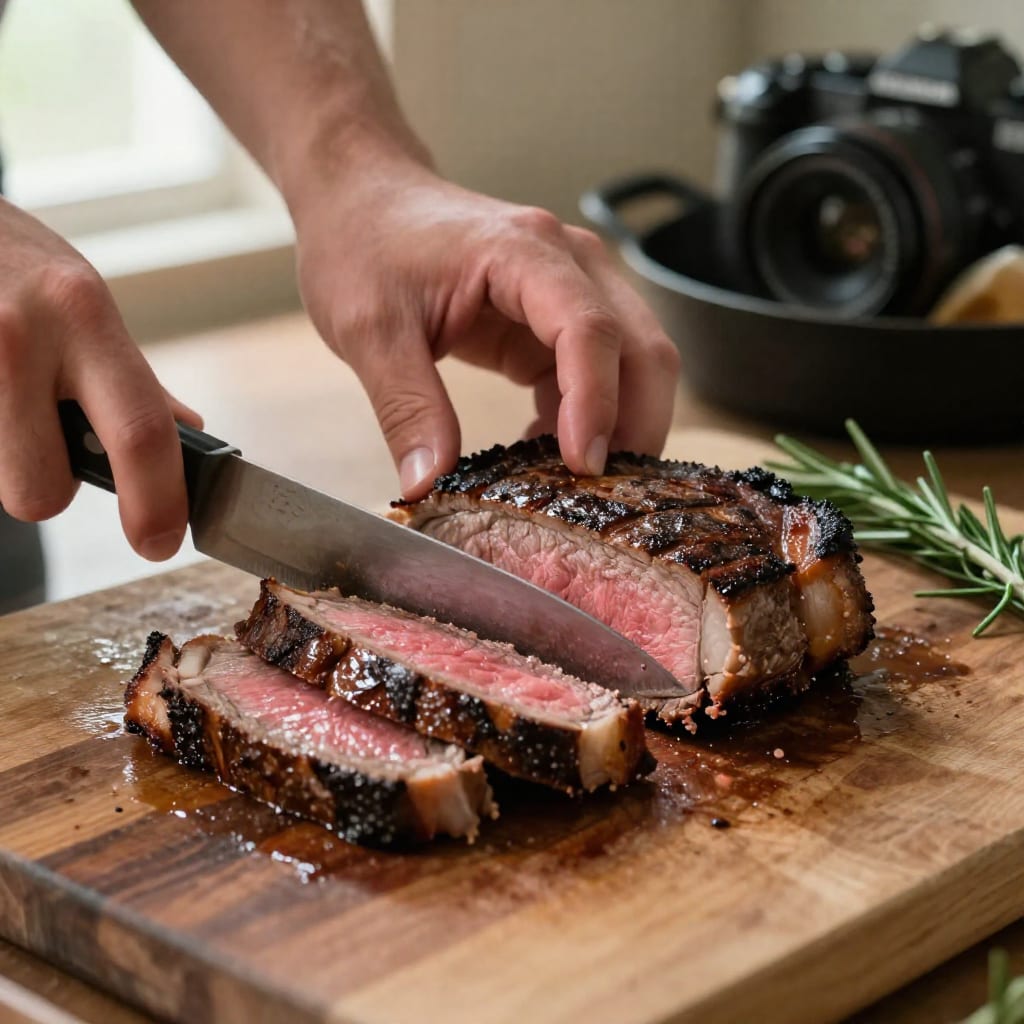
You can brine, braise, and reverse-sear perfectly, and still ruin a cheap cut with the wrong knife work. Slicing against the grain is the single most overlooked step in cooking tough meat, and it costs you nothing. The “grain” is the direction the muscle fibers run — on a flank steak, they’re long, parallel lines that run the length of the cut. If you slice parallel to those lines, you’re leaving the fibers intact, and your teeth have to do the work of breaking them apart. Slice perpendicular — across the lines — and you shorten every fiber into tiny segments that separate easily when you chew. The same piece of meat can feel tough or tender depending entirely on how you cut it.
I demonstrated this for a friend last Thanksgiving on a smoked brisket flat. I sliced one half with the grain into thick slabs, and the other half against the grain into thin, pencil-width slices. The with-the-grain slices were chewy and fibrous; the against-the-grain slices melted on the tongue. Same brisket, same cook time, same temperature. The only variable was the direction of the knife. That’s when I stopped seeing slicing as an afterthought and started treating it as the final cooking step.
How to Find the Grain on Any Cut
Look at the raw meat before you cook it — the grain is easier to spot. On flank steak, the fibers run in one clear direction like the grain on a piece of wood. On skirt steak, they’re more irregular but still visible. On a chuck roast, the grain can change direction several times because it’s made of multiple muscles; you may need to separate them and slice each section individually. Once you identify the direction, cut perpendicular to it. For extra tenderness on chewy cuts, slice thin — about a quarter-inch — and on a slight bias, which increases the surface area and makes each piece feel more tender.
Common Mistakes That Ruin Tenderness
The three I see most often: slicing with the grain instead of against it, cutting too thick (half-inch slabs on a flank steak are a workout), and not resting the meat before slicing. Resting allows the juices to redistribute; cut too soon and they’ll pour out onto the board, leaving the meat dry even if you cooked it perfectly. For a 1-pound flank steak, I rest it 7 minutes. For a 4-pound chuck roast, I rest it 15. The only exception is if I’m slicing for a platter and want the juices to mingle with a sauce — then I’ll slice immediately and pour the board juices over the top.
Putting It All Together: A Quick-Reference Table
Here’s how I pair each trick with the cuts where it makes the biggest difference, based on my own side-by-side cooking tests:
| Trick | Best For | Key Detail |
|---|---|---|
| Salt Brine (Dry) | Chuck steak, flank, brisket, pork chops | 1 tsp kosher salt per lb, 4–24 hrs uncovered |
| Low-and-Slow (225°F) | Chuck roast, pork shoulder, short ribs | Cook to 200°F internal, not by the clock |
| Acidic Marinade | Skirt steak, pork loin, lamb leg steaks | 30 min max for vinegar; 2 hrs for yogurt |
| Reverse Sear | Flank, skirt, flat iron (under 1.5 in.) | Pull 15°F below target, sear 90 sec/side |
| Slice Against Grain | Every tough cut | Identify grain raw, slice perpendicular, 1/4 in. thick |
For a deeper dive on cooking chuck roast until it falls apart — including my exact braising liquid and timing — take a look at our guide on how to cook a chuck roast so it falls apart. If you’re specifically working with flank or skirt steak, the marinade and slicing sections above pair well with our recipe for the best marinade for skirt steak. And if you’re deciding between sous vide and braising for your next tough cut, our comparison of sous vide vs braising for tough meat breaks down the texture and flavor trade-offs.
Short Practical Takeaway
If you only remember three things from this article, make them: dry-brine your cheap steaks overnight, cook collagen-heavy roasts at 225°F until they probe like butter, and slice every single cut against the grain on a slight bias. Start with a $7 chuck steak — dry-brine it for 6 hours, reverse-sear it to medium-rare, and slice it thin against the grain. I promise it’ll eat better than a poorly cooked ribeye at twice the price. The techniques are free; the only cost is a little planning ahead.